Reformer Footwork: Introduction
– get your feet, ankles and knees working whilst keeping everything else still and stable…
Our feet support the whole of the rest of your body. I know this from personal experience. I have had two very painful operations on my right big toe joint (Cheilectomy is the name of the operation) and it’s left with just 15% of mobility whilst my left works as normal. The compensations that my own body creates to adapt for two very different gaits on my left and right side show up through my ankles, claves, knees, hips, lower back and even shoulders. And running just magnifies this – that’s why I never tire of saying the bar none, Pilate is the best corrective exercise for everyone!
Healthy feet are essential for the whole of the rest of the body – and that’s why footwork is such a fundamental part of Pilates!
There are even specially designed apparatus for the feet: the Foot Corrector and the Toe Corrector.

In fact, you could write a book about the Pilates Footwork series. See the Feet and Toes Pre-Pilates page here
Footwork can be done on the Reformer, the Cadillac, the Chair and the Mat. Just about every element of Footwork appears in one form or another in every other exercise. But on the Reformer, this exercise series tells you about your strength flexibility, alignment, asymmetries and movement habits both good and bad!
Although it’s called footwork it clearly involves the whole of the leg, lower back and pelvis and more! But in all footwork exercises, keep a consistent angle of your feet relative to the floor. There’s a tendency to keep the ankle joint at a fixed angle and rigid which moves the feet as the carriage moves in and out.
What’s Pilates Footwork good for?
.. To get you started, here are some ideas:
- It works primarily the larger muscle groups, so it’s a good warm up.
- It teaches us positioning of your body – vital for proper Pilates practice.
- Learning to get full movement from the ankle knee and hip joints.
- It stimulates reflex zones of your foot.
- Helps learn vertical placement of the foot on the ground (ischiocrural muscles).
- Alignment and control of the foot, leg and related joints.
- Strengthening the lower back and abdominals and getting them to work together.
- Strengthening the arches of the feet.
- Some of variations help us to become aware of hip adduction (externally rotating my legs and hips), others help us to increase the range of motion of the hip joint, well still does help us to develop foot control and alignment focusing on pronation and supination and then there are stretches…
- Decoupling the leg movement from pelvis and lower back.
- Gives us a space to set up breathing patterns.
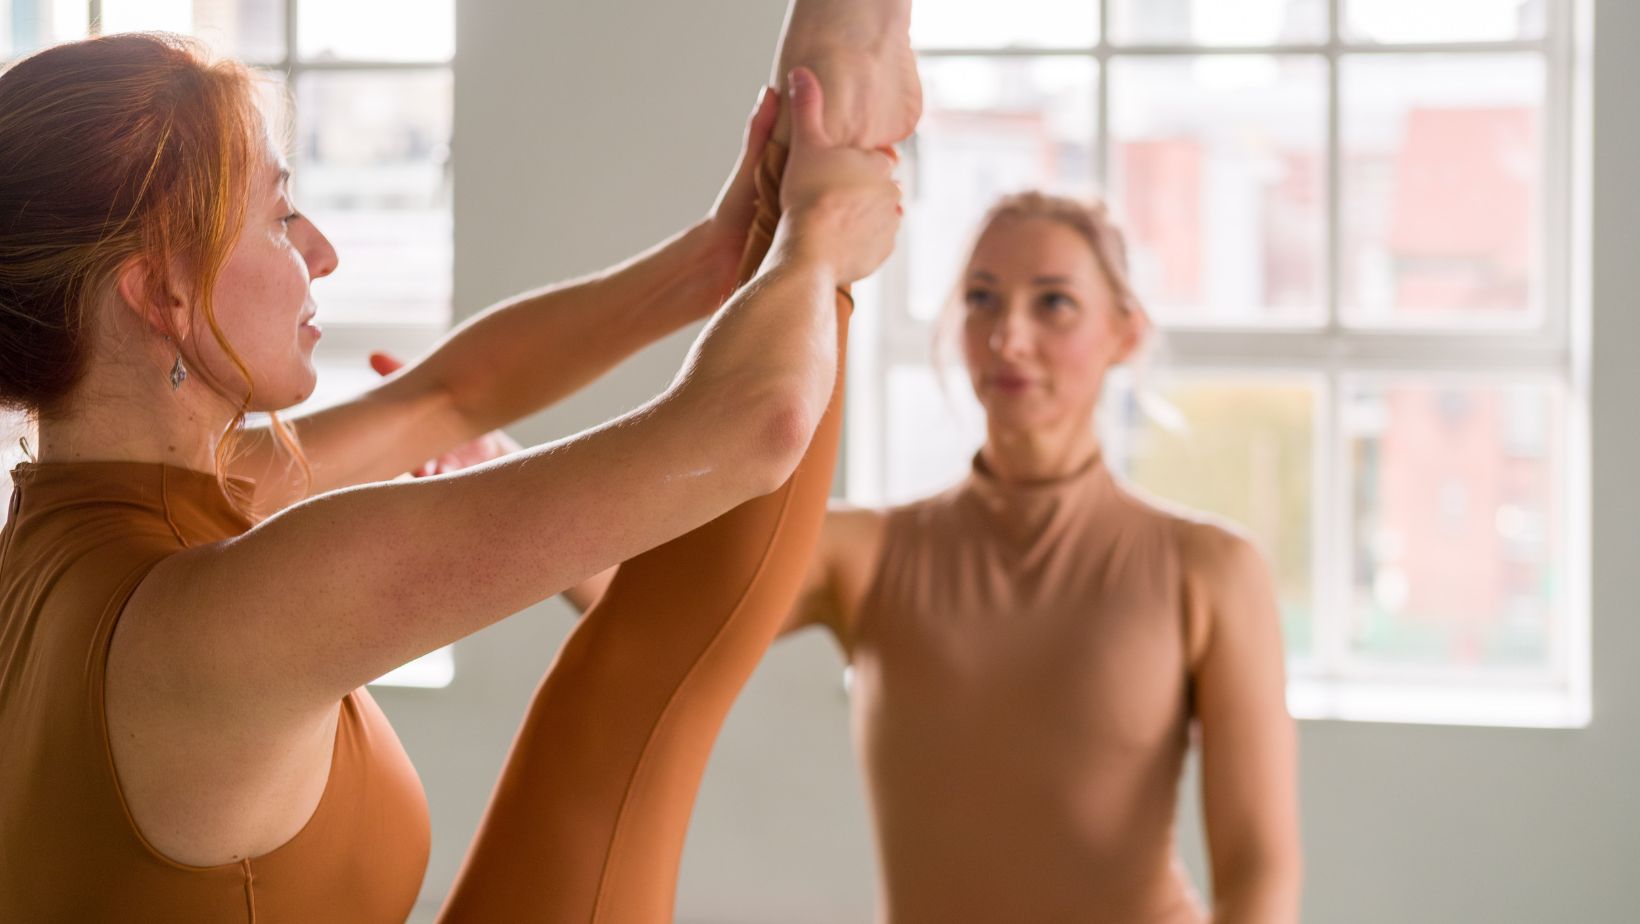
- Allows your teacher to assess your tendencies and alignments.
Set Up of the Exercise Series
- Center yourself in the middle of the carriage: tailbone in line with the middle spring (if you have a 5x spring Reformer).
- Lie face up with your shoulders against the shoulder rests.
- Your arms lie close to your body and press down into the carriage surface. Stretch out your fingers.
- The headrest is lifted.
- The carriage is at the stopper. The springs are slack and without tension. To accomplish this, adjust the position of the footbar so that your knees are directly above your hips. It should be possible to get on and off the Reformer without touching the footbar.
Common Mistakes
- Pushing out with the feet and not your legs.
- Not fully extending your legs.
- The carriage doesn’t return fully.
- Feet pronate or supinate.
- The pelvis tilts and rocks as the legs move.
- The feet move with the lower legs: the ankles are locked into position.
Modifications & Variations
- Change the pace of the repetitions: 5x slow and then 5x fast.
- Push our quickly, pull in slowly.
- Experiment with different spring resistance to experience different ways of training.
- If you have different leg lengths, use a folded rubber mat to balance this out.
Lower back and Pelvis Position
The position of the pelvis and the lower back remains the same throughout the whole series: with the tailbone resting lightly on the carriage and a small space under the lower back, whilst the lower ribs lie on the mat. This is called the “neutral position”. It’s important to keep this stable as the changes in the positioning of the feet and the legs challenge the body in subtly different ways.
Pushing out and Pulling in
Be sure to focus equally on pushing against the springs to push the carriage out as well as pulling the carriage in. For the technically minded these are concentric and eccentric contractions.
How straight can your knees go?
Provided that your knees don’t hyperextend, really push out, straightening your legs completely. There is a tendency to stop short of completely straightening the legs and this can can contribute to actually forgetting that the legs should straighten fully. Our knees are designed to reach full extension and so should be used to maximum potential. What you don’t use, you lose.
Possible Foot and Leg Positions
Here’s a quick summary: work on TOES, ARCHES & HEELS in Parallel, Small V and Wide V positions.
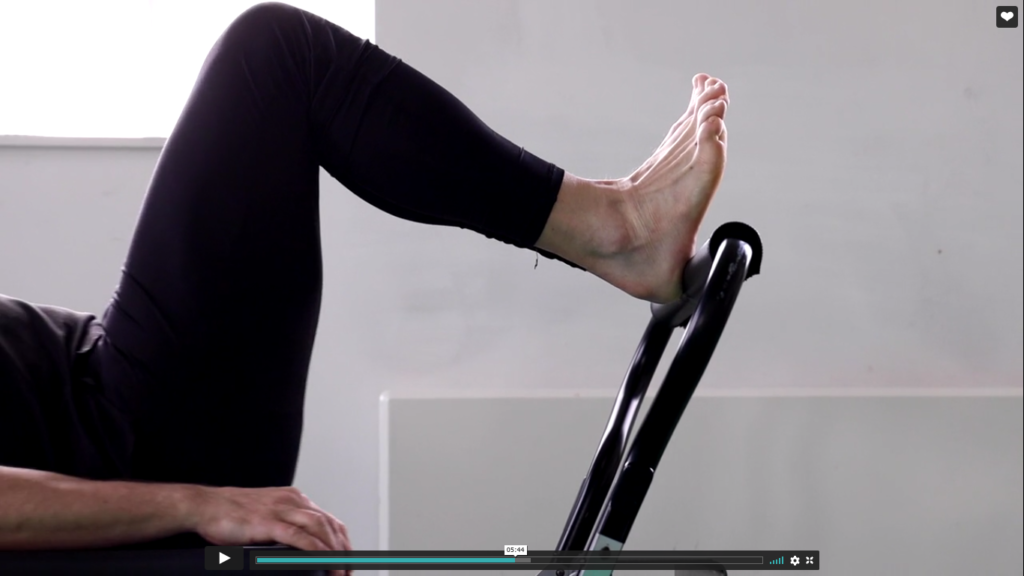
Toes
Place the balls of your feet on the footbar with your heel slightly raised and legs in parallel.
💡 Trying to feel a lifted sensation as you push out as if you were pulling pushing off a springboard.
keep your heels still on the angle of your feet consistent. Imagine your feet being supported by a floor underneath.
Arches
Place the arches of your feet on the footbar with your heels pushed under the footbar and toes curling over the top as if you were a bird clutching a telegraph wire…
💡 Try to feel your arches lifting off the footbar as you pull the carriage in.
Heels
Place the centre of your heels on the footbar with your legs parallel. This means that your feet will be approximately fist width apart.
💡 Imagine that there’s a rubber band connecting your heels to your sit bones. As straighten your legs, the rubber band stretches and wants to pull the carriage back into the stoppers. Resist this pressure. Never let the apparatus push you around, instead, you push the apparatus around.
💡 Imagine pulling through your heels.
V position
After after parallel toe footwork, just bring your heels together for a perfect transition. The angle of “V” should be about 30 degrees.
💡 Straighten your legs and squeeze them together at the same time. Imagine squeezing the juice out of a lemon on to your salad!
💡 Keep your heels still what squeezing them together.
💡 straighten your legs completely focusing on the work of the outer thighs and the upper legs.
💡 Connect to your butt and squeeze it!
💡 Keep your pelvis perfectly still: lower ribs on the mat tailbone on the mat.
Open V position.
Place your feet as wide as they will go on the footbar with your legs aligned with your feet. A separate tutorial on Open V Position: click here.
“Prehensile”
Wrap your toes (all of them) around the footbar. With parallel and straight legs, drop your heels under the bar and push them away from you as your bend your knees to bring the carriage in.
Focus on alignment maintaining consistently correct tracking of the leg hip knee and foot.
Keep your feet partially dorsiflexed and still as if standing on the floor.
Try to connect to your quadriceps when doing this exercise. The vastus medialis oblique cannot be felt during this exercise in your thighs and strengthening this muscle is often a goal in corrective knee work.